
Introduction
Smiley Fries brighten up any meal. Their playful faces bring joy to kids and grown-ups alike, while their crisp outside and soft inside make them an inviting snack or side dish. These cute smiley fries often show up in frozen form at the grocery store, but making them at home gives you control over freshness and flavor. They work well for a casual family dinner, a quick lunch, or a fun appetizer at a weekend gathering.
Think of these potato smiles as an entertaining spin on regular fries. Instead of standard strips, you get a round disk with eyes and a grin. Children love the happy shapes, and adults appreciate the homemade taste. When you make them yourself, you avoid unnecessary additives, and you can season them to match your taste buds. With the right potatoes, a simple batch of cornstarch, and a short frying session, you can have golden-brown bites of happiness.
In the sections that follow, you will see how to prepare the dough, shape each smiling face, and fry everything until the outside turns crispy. You will also learn about ingredient choices, helpful tips, and different ways to serve these fries. Get ready to have fun in the kitchen as you shape your dough into smiley faces and watch them transform into a delicious, kid-friendly treat.
Key Benefits
Making your own smiley fries provides more than just a cheerful presentation. You gain control over the ingredients, which means you decide how much salt to add. Many store-bought bags of fries contain extra sodium, but a homemade batch lets you maintain a healthier balance. You can also select your preferred oil and manage how long you cook each fry, helping you control saturated fat levels and overall flavor.
Another benefit is the freedom to freeze the shaped potato dough for later use. This saves time on busy weekdays or when you need a quick kid-friendly snack. Your frozen smiley faces stay fresh in the freezer, ready to fry whenever you want a warm, golden side dish. By preparing them at home, you can create a large batch and store extras to pull out at a moment’s notice.
Finally, making these fries sparks creativity and joy in the kitchen. Children love to help shape the dough, and adults enjoy experimenting with simple seasonings, like a hint of rosemary or a dash of cheese. The result is a soft, flavorful bite on the inside and a crispy, golden texture on the outside. As you serve each plate, you’ll see how a small twist on traditional potato fries can turn an ordinary meal into a fun occasion.
What Are Smiley Fries?
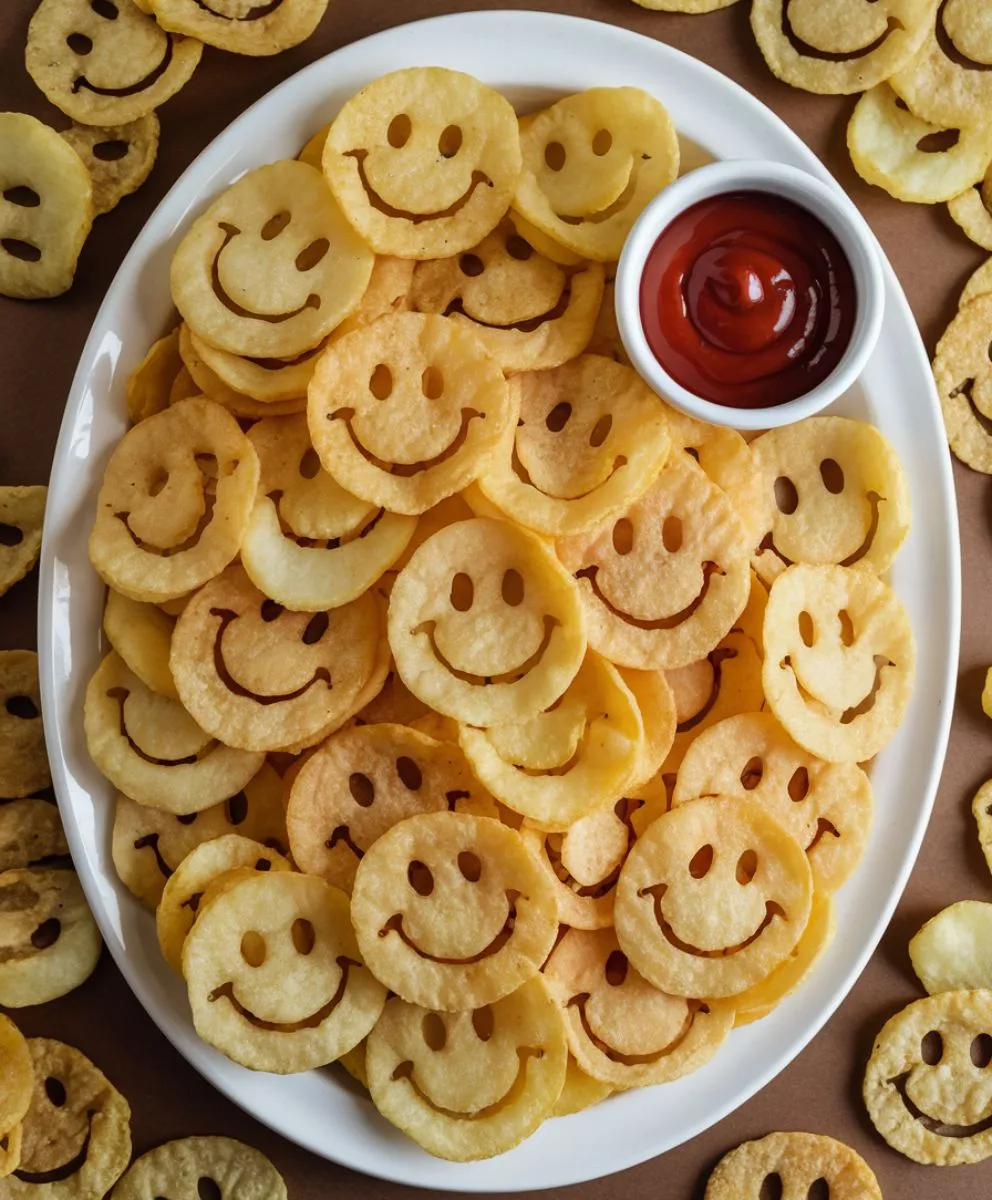
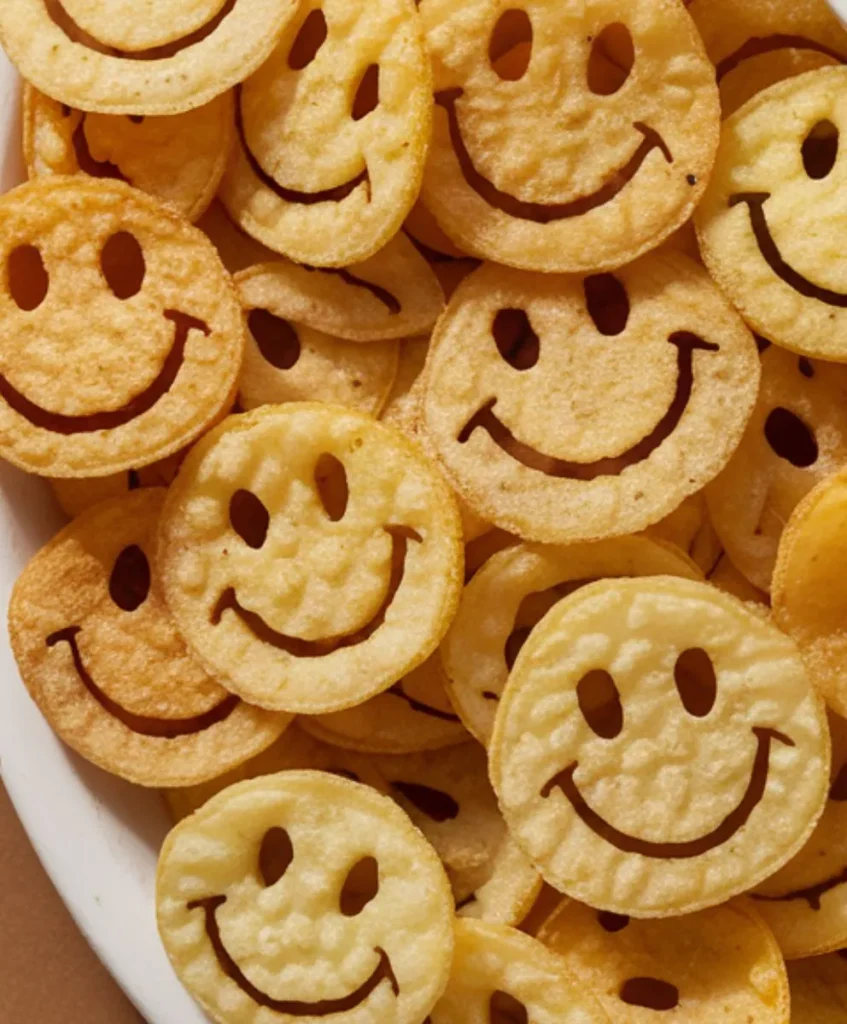
Smiley fries are round potato snacks shaped to look like little faces, with distinct eyes and an open grin. Each piece starts as mashed potatoes mixed with a binding ingredient, such as cornstarch, before being cut and stamped into smiling disks. Brands like McCain helped popularize these fries in the frozen-food aisle, although homemade versions allow for more control over salt and other flavor choices.
Unlike standard potato fries cut into strips, smiley fries present a playful twist. Their wide, round shape makes them stand out on any plate, and their soft inside appeals to kids and adults alike. They’re often served with ketchup or other dipping sauces for an easy snack or side dish. Families enjoy them for their convenience—some even keep a bag of these pre-formed smiles in the freezer for quick meals. Plus, the homemade approach brings fresh flavor to every bite, along with the fun of shaping each face before frying.
PrintSmiley Fries Recipe

Rediscover the joy of McCain’s Smiley Fries! These golden potato treats are easy to cook, and guaranteed to bring a smile!
- Prep Time: 30 minutes
- Cook Time: 25 minutes
- Total Time: 55 minutes
- Yield: 6 people
- Category: Lunch
- Method: Frying
- Cuisine: American
- Diet: Vegetarian
Ingredients
2 Medium Yellow Potatoes (500 g, Chunks): Yellow potatoes mash smoothly. They have a mild, buttery flavor and a balanced starch level, making the dough firm yet pliable.
1 Tablespoon Salt: Boiling potato chunks in salted water ensures each bite carries a gentle savory tone.
¾ Cup Cornstarch (95 g): Cornstarch binds the mashed potatoes, keeping the dough stable and helping create a crisp shell once fried.
Instructions
Mashed Potatoes
Boil and Salt:
Start by heating a pot of water until it reaches a vigorous boil. Stir in 1 tablespoon of salt and carefully add the potato chunks to the pot.Cook to Tender:
Allow the potatoes to simmer for 16 to 18 minutes or until they are fork-tender.Drain and Mash:
Pour the cooked chunks into a colander to remove excess water. Transfer them to a mixing bowl while still warm. Use a fork to crush the potatoes into a smooth paste, or push them through a strainer for an even silkier texture.
Potato Dough
Combine with Cornstarch (Note 1):
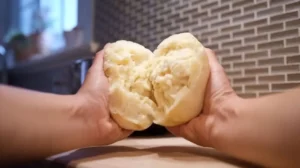
Scatter the cornstarch over the warm mash. Mix thoroughly, incorporating all traces of dry powder, until a dough forms. If the mixture feels overly sticky, add a sprinkling more cornstarch.Roll It Out:
Shape the dough into a ball, then set it on a wax paper-lined surface. Press or roll the dough to about one inch in thickness, maintaining an even layer.
Cut Out the Head

Cookie Cutter Method:
Take a round cookie cutter (or any circular tool) and press it firmly into the dough. Gently lift out the circle.Line Them Up:
Move each circle onto a tray covered in wax paper, ensuring they do not overlap.
Cut Out the Smiley Face
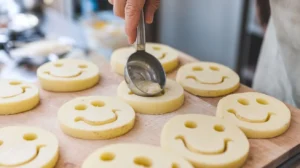
Form the Eyes (Note 2):
Use a clean straw to punch out two neat holes in the upper portion of the disk. Space them evenly to give each fry a friendly gaze.Make the Smile (Note 3):
Position a small spoon on the lower half of the dough circle, pressing lightly to form a curved imprint.Open the Mouth:
Dip a chopstick into water, then trace along that curved imprint. This action scrapes through the dough, creating a cheery, open-mouthed grin.
Freeze
Set on Tray:
Arrange the completed smiley faces in one layer on the tray.Chill Thoroughly:
Place the tray in the freezer for at least 30 minutes, though overnight freezing yields the best firmness.
Deep-Fry the Smiley Fries
Heat Oil to 350°F (177°C):
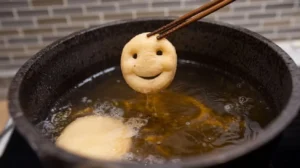
Fill a medium pot with vegetable oil. Turn the stove to medium-high, monitoring the temperature with a kitchen thermometer.Fry in Batches (Note 4):
Once the oil is hot, gently slide in a few frozen smiley faces at a time. Let them sizzle for 3 to 4 minutes, or until they boast a crisp, golden-brown hue.Drain and Cool:
Retrieve each fried piece with a slotted spoon. Place them on a wire rack to shed excess oil.
Serve and Enjoy
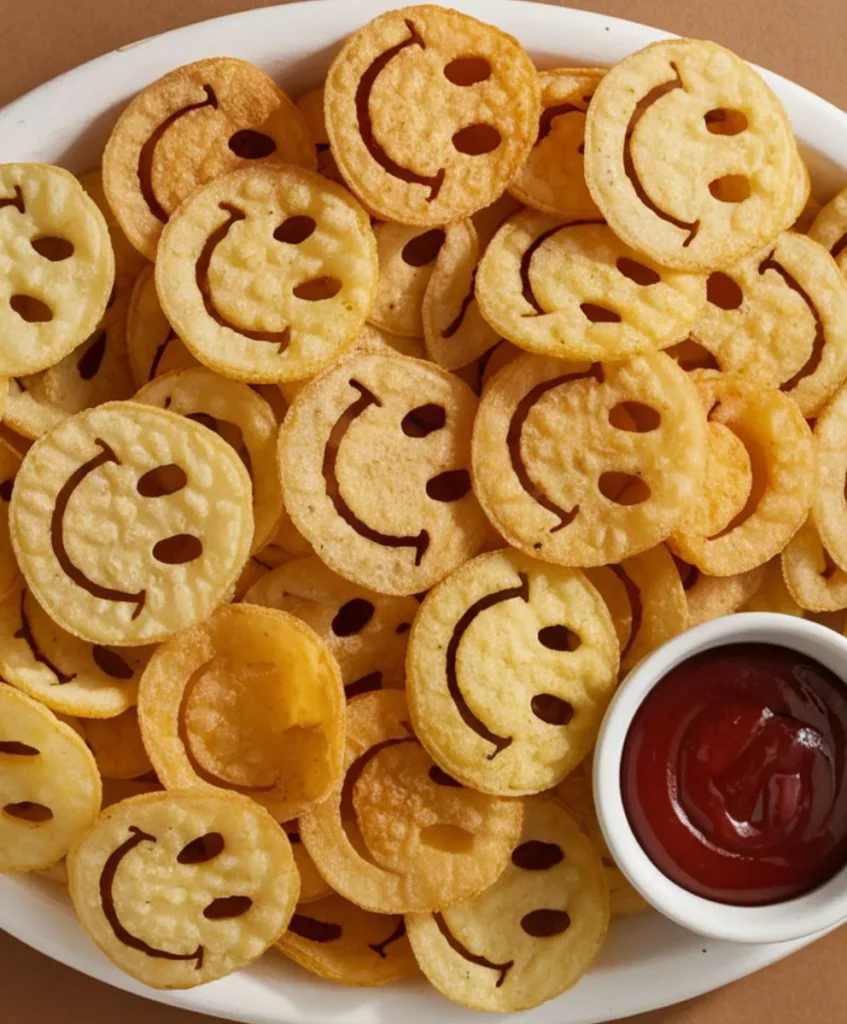
Present these friendly faces with a favorite dipping sauce—such as tangy ketchup, creamy aioli, or even spicy mustard. Revel in the contrast of a crunchy exterior and a soft, comforting interior.

Notes
Dough Consistency
Aim for a pliable, play-dough texture—soft but cohesive. It should form a sphere and stay together when gently tossed.Eye Placement
Position the eyes about one-third down from the top, with 1.5 centimeters between them. This spacing creates a pleasant, balanced look.Smile Placement
Place the grin 1 centimeter above the lower edge. Keep the smile clean and clear, adjusting the curve to suit your design preference.Frying Technique
Fry in small batches. Add a little movement once the pieces hit the hot oil, but avoid excessive contact. Too much touching can cause them to clump together or lose shape.
Nutrition
- Serving Size: 6
- Calories: 131
- Sugar: 0
- Sodium: 208mg
- Fat: 7g
- Saturated Fat: 1g
- Carbohydrates: 14g
- Fiber: 2g
- Protein: 2g
- Cholesterol: 0
What Type of Potato Should I Use for Smiley Fries?
Yellow potatoes, such as Yukon Gold, offer a smooth texture and a balanced starch content that keeps the dough from crumbling. These potatoes mash easily, which helps form a uniform “pota-dough” that holds its shape when you cut out the Smiley Fries. Their natural flavor and soft interior make each bite gentle and comforting.
If Yukon Golds are not available, you can try another variety with a similar texture. Waxy or all-purpose potatoes work better than extra-starchy ones because they hold together without falling apart. With the right type of potato, you end up with consistent dough that shapes into stable smiley faces, ready for frying or baking.
What Do Smiley Fries Taste Like?
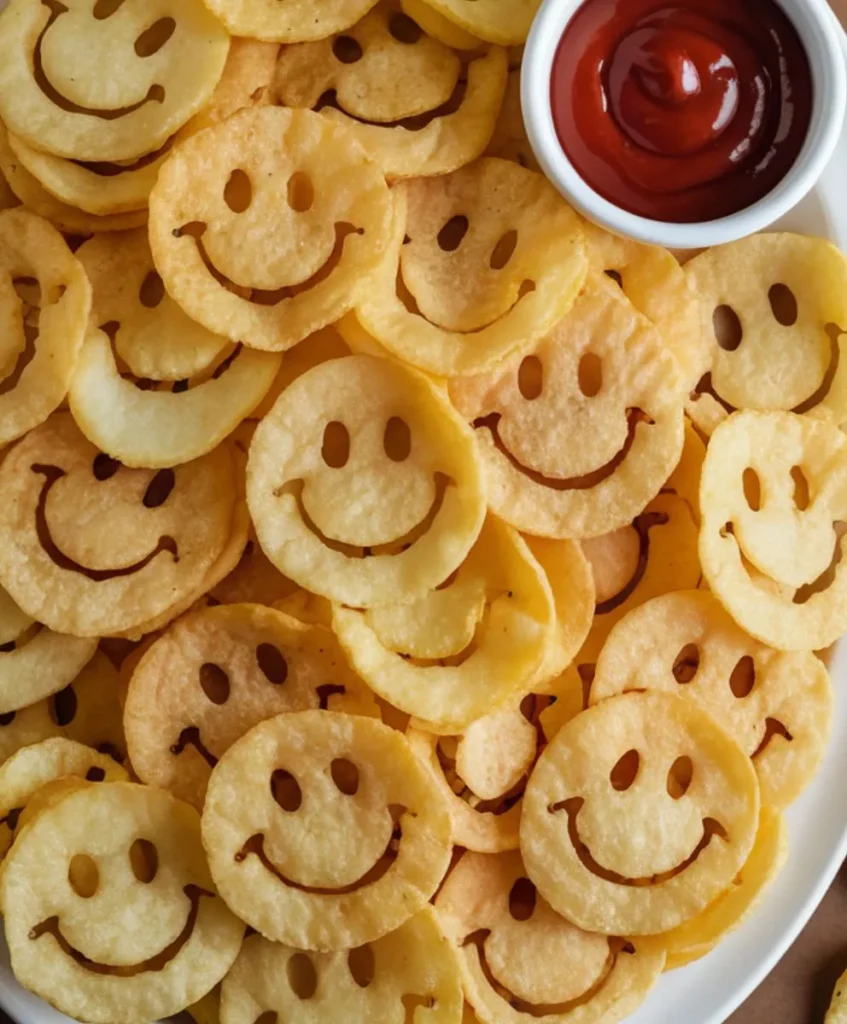
Smiley fries have a crispy exterior and a fluffy center, which makes them similar to tater tots but shaped like little faces. Once fried, they develop a golden color, and the gentle potato flavor becomes more pronounced. The seasoning on top, often just a sprinkle of salt, highlights their mild taste without overpowering the natural earthiness of the potatoes.
Each bite starts with a crunchy crust, followed by a soft texture inside that feels comforting. The contrast between crispy and tender keeps you reaching for another. They can be dipped into ketchup, ranch, or any favorite sauce. This flexibility in flavor means kids and adults can personalize each fry, whether you like them with a pinch of sea salt or a dash of extra seasoning.
Ingredients
Below are the two basic items you need to create homemade smiley fries. They come together to form a dough that stays firm enough to cut into charming faces while still producing a soft interior once cooked.
- Potatoes (Yellow Potatoes / Yukon Gold)
These have a balanced starch content and a creamy texture. They mash easily and maintain a workable consistency when you shape your smiley face fries. Yukon Gold potatoes also create a pleasant golden hue after frying or baking, bringing extra appeal to each bite. - Cornstarch
Cornstarch serves as a binding ingredient, helping each potato disk keep its smile in place. When added to mashed potatoes, it turns the mixture into a dough-like product. This step ensures your fries hold their shape during freezing and frying, giving you cute and crispy results every time.
Instructions for Smiley Fries
Follow these steps to turn simple potatoes into fun, Smiley Fries. Each stage helps you build a crisp and golden fry while keeping the inside soft and comforting. Adjust the amount of cornstarch if needed, and remember to chill your shaped smiles so they hold their form during cooking.
step 1: Add Cornstarch to Mashed Potatoes and Mix
- Cook the Potatoes:
- Fill a pot with water and bring it to a steady boil.
- Add 1 tablespoon of salt, then drop in your potato chunks.
- Cook for 16 to 18 minutes, or until you can easily pierce the potatoes with a fork.
- Mash the Potatoes:
- Drain the potatoes in a colander.
- Transfer them to a mixing bowl and mash with a fork or press them through a strainer until smooth.
- Form the Dough:
- While the potatoes are still warm, add cornstarch.
- Mix thoroughly until the mash turns into a dough-like consistency.
- Aim for a texture similar to playdough—you should be able to roll it into a ball without it falling apart.
- If the dough is still sticky or too soft, add a small pinch of cornstarch at a time and work it into the potatoes.
Tip: The amount of water absorbed by potatoes can differ based on their size, so be ready to adjust the cornstarch if needed. This practice ensures each Smiley Fries holds up during frying.
Step 2: Cut Potato Dough into a Round Shape
- Prepare Your Surface:
- Line a flat area with wax or parchment paper to keep the dough from sticking.
- Shape the Dough:
- Form the potato dough into a thick disk with your hands.
- Use a rolling pin to flatten it to about 1 centimeter thick (around the width of a pinky finger).
- Cut Out Circles:
- Press a round cutter, cup rim, or any circular tool into the dough to form disk shapes.
- Lift each disk with care so it stays intact.
Tip: If you plan to bake or air-fry, place each disk on a baking sheet lined with parchment paper. For deep-frying, you can keep them on wax paper until ready to freeze.
Step3: Imprint the Smiley Fries
- Add Two Eyes:
- Use a clean straw to poke two small holes for eyes.
- Space them about 1.5 centimeters apart so the face looks balanced.
- Make the Smile:
- Take a ½ teaspoon measuring spoon, press it lightly on the disk to form a curve.
- Dip a chopstick in water and gently trace along that curve to create an open-mouthed grin.
- The goal is a visible smile that does not collapse during frying.
- Freeze the Faces:
- Slide the Smiley fries onto a plate or tray in a single layer.
- Place them in the freezer for at least 30 minutes, or leave them overnight to help them firm up.
Tip: Freezing helps the dough keep its shape while frying. This step also makes it easier to fry in batches without having them stick together.
Step 4: Deep-Fry Smiley Fries Until Crispy, Golden Brown
- Heat the Oil:
- Fill a medium pot with enough vegetable oil to submerge the Smiley fries.
- Warm the oil over medium-high heat until it reaches 350°F (177°C).
- Fry the Smiley Fries:
- Carefully drop a few frozen smiles into the hot oil.
- Fry each batch for around 3 to 4 minutes, or until they turn crispy and golden brown.
- Gently move them with a slotted spoon if they start sticking together, but avoid too much jostling.
- Drain and Cool:
- Lift each fry out with a slotted spoon.
- Place them on a wire rack or paper towels to let excess oil drip away.
- Serve:
- Enjoy your smiley fries hot.
- Pair them with ketchup, mustard, or any sauce you love.
Tip: Work in small batches. Overcrowding the oil can cause the temperature to drop, which might prevent a crisp finish.
Pro Tips and Variations
Homemade smiley fries can adapt to various cooking styles, flavor tweaks, and serving options. A few changes in your approach can help you craft unique textures or tastes while keeping these playful faces as the star attraction.
- Bake Instead of Fry:
- Preheat your oven to about 400°F (205°C).
- Arrange the frozen smiley fries on a baking sheet in a single layer.
- Bake for 15 to 20 minutes, flipping halfway, until they turn golden brown and crispy.
- Baking cuts down on oil, making this a lighter option that still satisfies.
- Air Fry for Less Oil:
- Set your air fryer to 380°F (193°C).
- Mist the fries with a little canola or vegetable oil, or skip it for a lower-fat alternative.
- Cook for around 8 to 10 minutes, checking and shaking the basket halfway through.
- You get a crisp finish without soaking them in hot oil.
- Add a Burst of Flavor:
- Blend rosemary or other herbs into the mashed potatoes before shaping.
- Stir in a small amount of shredded cheese for an extra savory taste.
- Toss the cooked fries in a bowl with a sprinkle of garlic salt or a light dash of chili powder for spice.
- Keep Your Dough Cool:
- If your kitchen is warm, chill the dough in the freezer for a few minutes between shaping.
- This practice helps keep the smiley faces stable and reduces sticking.
- Store Leftovers and Prepare Ahead:
- After freezing them in a single layer, transfer the smiley faces to a sealed bag or box.
- They stay fresh in the freezer for up to a month.
- This method lets you pull out a few at a time for a quick lunch or snack, so you always have a cute, ready-to-cook option.
- Experiment with Sauces:
- Pair them with classic ketchup, barbecue sauce, mustard, or a creamy dip.
- For a fresh spin, serve them with yogurt dips flavored with chopped herbs or a tangy spicy sauce.
Serving and Storing Smiley Fries
Smiley fries taste best when they are fresh and warm. Serve them as a fun side dish with your favorite sauces like ketchup, mustard, or a tangy barbecue dip. Kids often enjoy them on a plate next to chicken nuggets, veggie sticks, or other finger foods. These fries are perfect for busy lunches or casual dinners. They bring a playful touch to any meal without adding much effort.
If you plan to make a large batch, you can keep un-fried smiley faces in the freezer for future meals or snacks. First, arrange the shaped dough disks in a single layer on a tray or baking sheet and freeze until firm. Then transfer them to a bag or box, label it with the date, and store it in the freezer for up to a month. This step allows you to pull out a portion at a time and cook them straight from frozen whenever you crave a crunchy potato bite.
Should you have leftover cooked Smiley fries, place them in an airtight container or sealable bag. Refrigerate them for up to three days. To reheat, spread them on a baking sheet and warm in a preheated oven at about 375°F (190°C) for several minutes. This method revives their crispy exterior without drying out the inside. Alternatively, a quick pass in the air fryer also brings them back to a desirable texture. With these simple storage and serving tips, you can enjoy Smiley fries any time you please.
Frequently Asked Questions
Can you make smiley fries in an air fryer?
Absolutely. Set your air fryer to around 380°F (193°C). Lightly mist the fries with vegetable or canola oil, then cook them for about 8 to 10 minutes. Shake the basket once or twice to help them fry evenly. You get a crunchy texture without submerging them in oil.
What can you serve with smiley fries?
Smiley fries go well with a range of dishes, including chicken nuggets, hot dogs, or veggie wraps. Dip them in ketchup, ranch, or barbecue sauce for extra flavor. They also pair nicely with shredded cheese or a simple sea salt sprinkle on top. Feel free to add roasted corn or a small salad on the side for a balanced meal.
Are potato smiles discontinued?
Some brands may shift their product availability over time, but you can still find smiley face fries in many grocery stores. If you cannot locate a favorite brand, you can make them at home by following the instructions above. Homemade versions often taste fresher and let you manage the ingredients.
Does Walmart have smiley fries?
Walmart often carries name-brand smiley fries in the frozen section. Availability can depend on your local store. If you cannot find them, check the freezer aisle of other major supermarkets or make your own using the recipe here, so you control the taste and the ingredients.
Conclusion
Smiley fries bring warmth and fun to any table. The process begins with boiling and mashing potatoes, adding cornstarch for structure, and shaping each disk into a cheerful face. That personal touch sets them apart from standard potato snacks. Whether you fry them in vegetable oil at 350°F or choose baking or air-frying, these little faces emerge with a crispy exterior and a soft, comforting interior.
Homemade smiley fries are a family-friendly choice that brightens a child’s meal, a weekday lunch, or a light snack. They offer flavor and a small moment of delight in each bite. By managing the salt, you can watch your sodium intake, and selecting your favorite oil—canola, peanut, or vegetable—lets you control how much saturated fat goes into each portion.
For an extra twist, experiment with add-ins like cheese or rosemary. You can also freeze a batch for quick cooking on a busy day. Their Smiley Fries can ease stress and please hungry guests. If you want a different savory treat, try a Tequeños Recipe next time. This favorite snack features cheese wrapped in dough and fried until golden. Both dishes share the fun factor that transforms everyday meals into satisfying treats worth sharing with family and friends.
Leave a comment
Your email address will not be published. Required fields are marked *